If you are planning to make your online identity, then the most commonly used term that you have heard is WordPress. Frankly speaking, WordPress is the most simple and popular way to create a website. Whenever you search for something on the browser, a lot of websites pop up on your desktop/laptop/tablet/mobile screen right! Almost 40% of the websites on the Internet are powered by WordPress.
Now, if you are using WordPress, the WordPress dashboard plays a major role in your online journey. The WordPress admin dashboard is the back-end of your website from where you can create and manage content, installing themes, plugins for extra functionalities, and more for your website.
Thus, on a technical note, WordPress is one of the renowned open-source Content Management Systems (CMSs) thereby making it free to use for all. In this manner, we have come up with another new phrase ‘Content Management System’. As it can be easily implied from the name, CMSs are systems that manage the content or basically, the various features of your website.
So, it’s important to know what WordPress Dashboard is, and hence stay tuned to go through this interesting guide!
Key Content of What is WordPress Dashboard-
How to Accessing the WordPress Dashboard
No matter whichever hosting provider you opt for, this process will remain the same and also the WordPress dashboard appearance until WordPress itself introduces some changes or updates to the appearance.
You just need to append /wp-admin with the URL of your website. For instance, you can search like this in your browser: https://xyz.com/wp-admin, where ‘xyz’ will be your domain name.

How to Familiarizing with the WordPress Dashboard
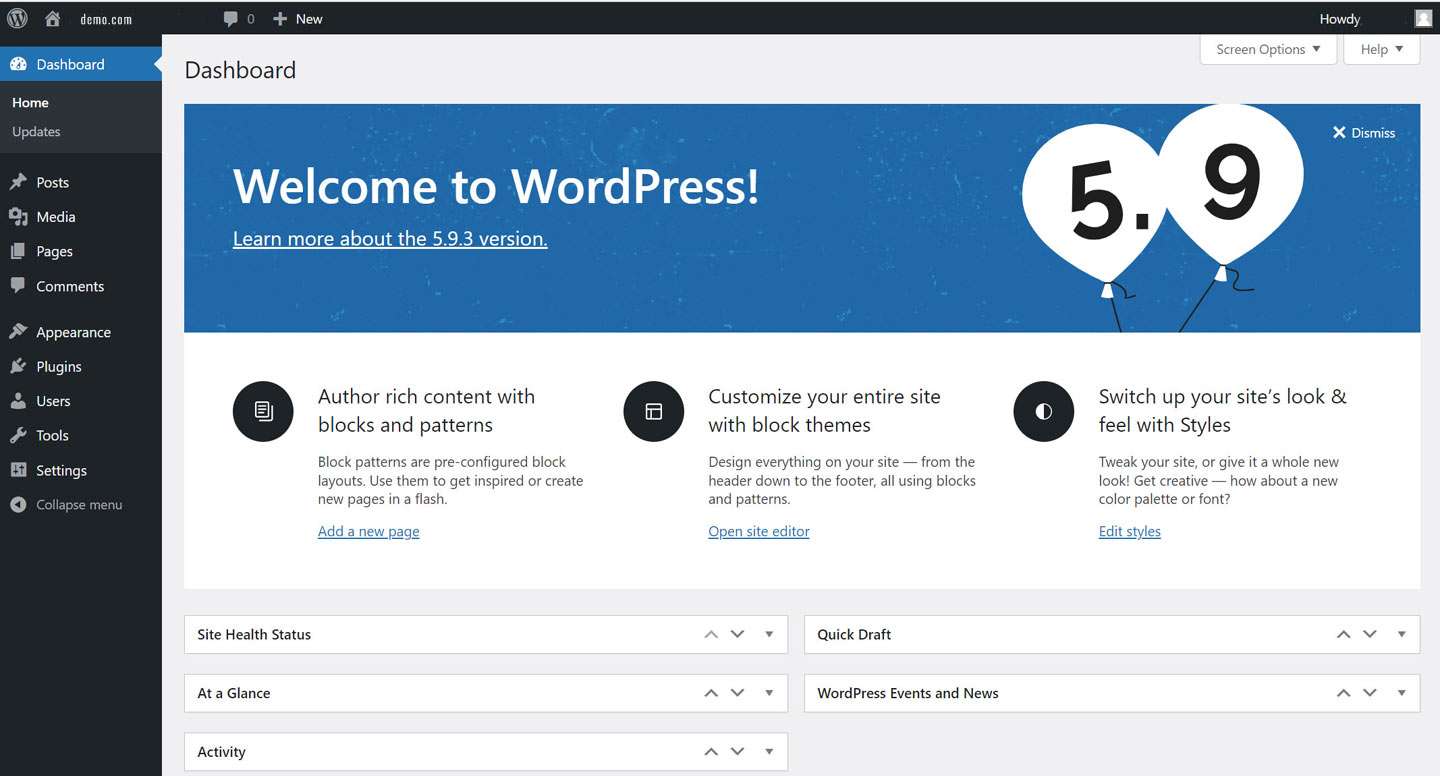
So, now you are into your WordPress Dashboard. Let’s hover our eyes through the home screen of this WordPress admin dashboard. The first box that will be there is the “Welcome to WordPress” box with different links that can enable you to get quickly started like customizing the appearance, creating blog posts/pages, etc.
Following this, you will find the At a glance or Right Now section where you can find the number of posts, pages, comments, tags, and more related to your website. You can also see the version of WordPress and the theme that you are using.
Then there is an Activity widget that displays the latest comments on the blog posts, recently published posts. From here, you can easily approve or reject the comments; even you can mark comments as spam if you need.
The WordPress News widget gives a glimpse of all the official news regarding WordPress like the updates, version, or any other related ones.
After that, comes the most important widget to discuss which is on the left-hand side of the home screen with a dark background that is referred to as the Navigation Menu. This is the widely used section of the WordPress dashboard as it contains all the essential menu options like Pages, Posts, Appearance options, Tools, Settings, and more. These menu options make WordPress a lot easier and beginner-friendly to use.
What is the Important Components of the Navigation Menu of WordPress Dashboard
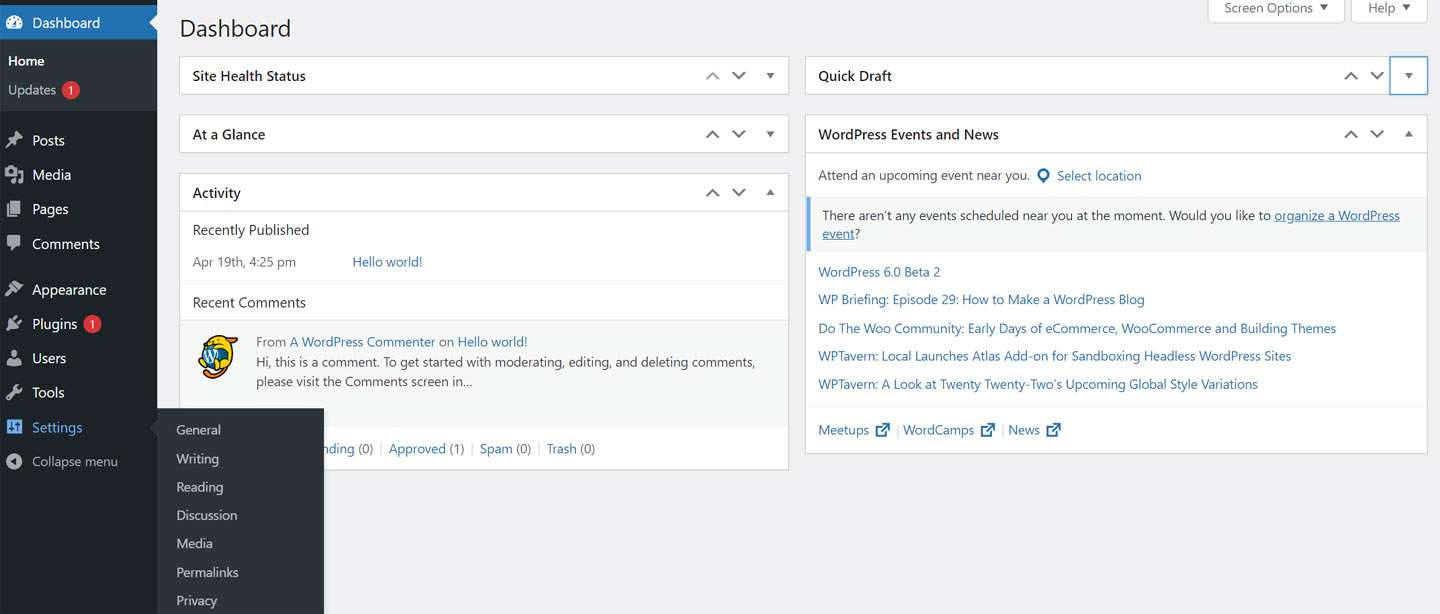
Settings Option
Once you point your cursor on the Settings Option, there will be 6 sub-sections that you can see. All of them are not essential to start with. You will mostly require the General Settings option, Reading setting, and the Discussion setting options. From the General Settings option, you can change the site title, tagline, or some more changes that you need regarding admin email address, etc. The Reading Setting option lets you customize the number of blog posts you would like to show on each page or the type of homepage. The Discussion Setting option is mainly related to comments like changing the approval and moderation settings. You can know more by exploring the Settings section but there is no need to know everything at this moment.Appearance and Plugins
You may have already guessed what the Appearance option will do from its name. Yes, it changes the way your website looks.
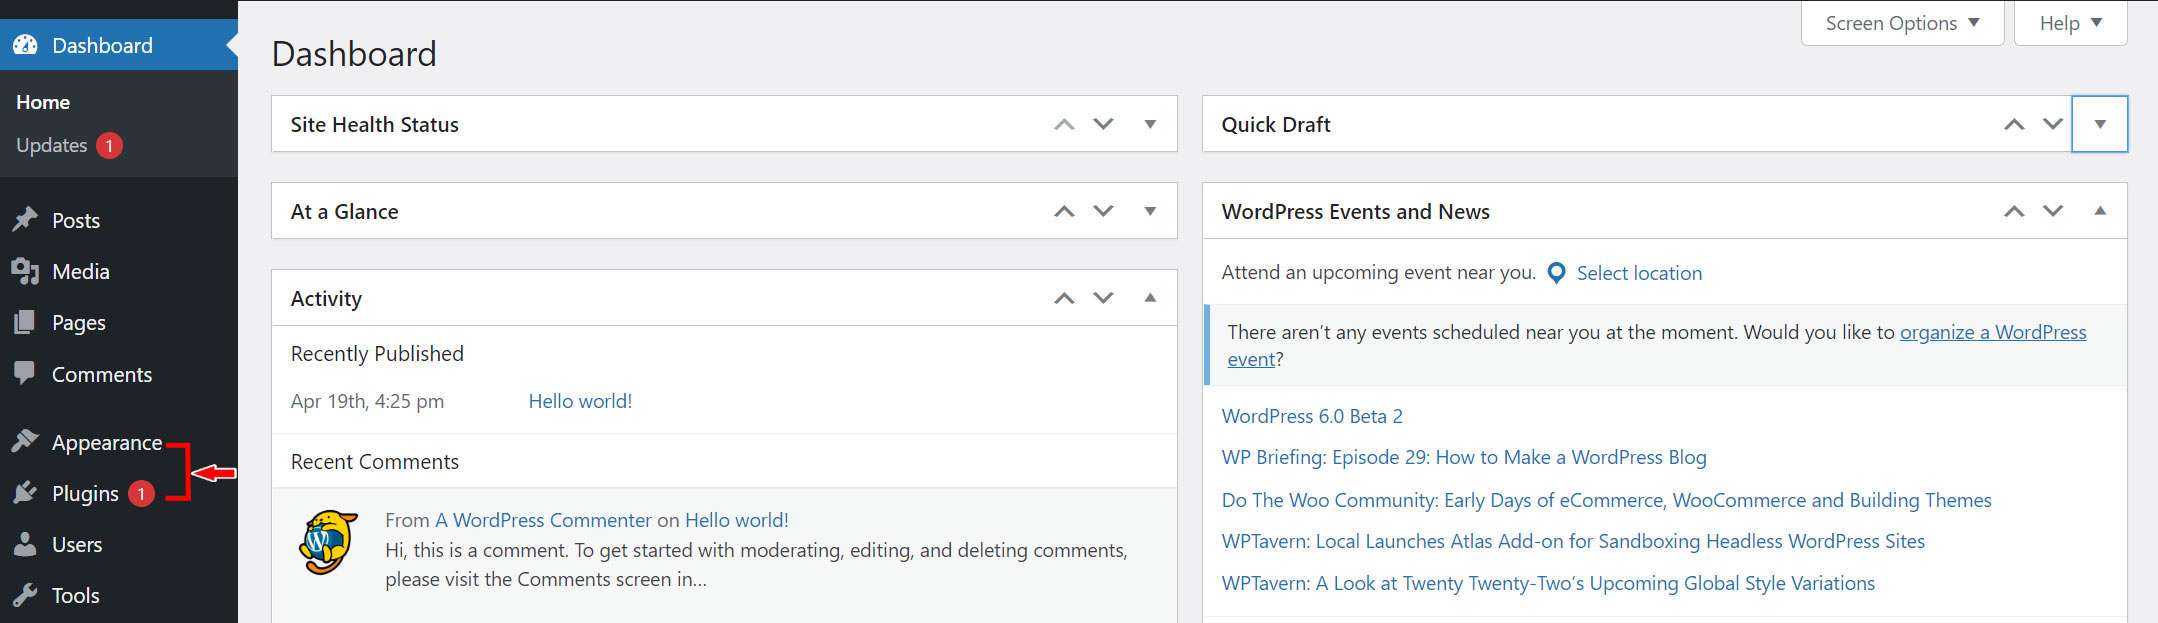
From the Appearance Option you can install the various themes as per your liking. In this option, you can also find the option to customize the menus of your website. It is essential to make your menus user-friendly as that helps the visitors to easily move to the required pages of your website.
While the Appearance section is mainly responsible to change the way your website looks, Plugins mainly change the way your website functions. There are various tasks that you need to implement for your website like increasing the loading speed, enhancing the security of your website, including Table of Contents, making the contents SEO-friendly, and more. All these things can be done by installing different plugins. Isn’t it interesting?
Posts/Pages
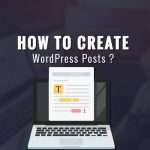
After you are done with the important settings for your website and also customize the appearance and installed the important plugins, it’s time to add content to your website. This is where posts and pages options come into play!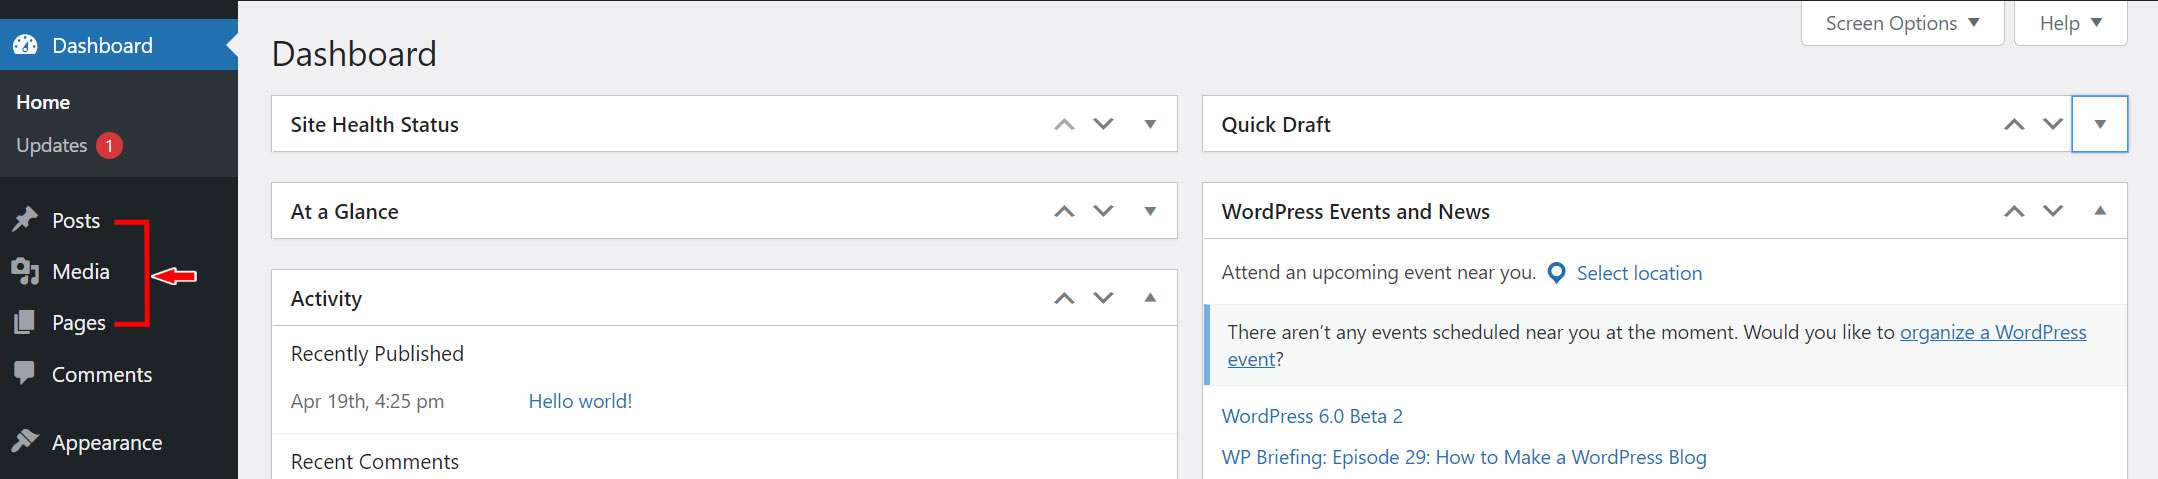
The Pages option is mainly used to create some static pages like the About Us, Contact, privacy policy pages. It is important for you to create these pages for gaining the confidence and trust of your visitors. But, the most important thing to rank your website is the Blog Posts.
Click on the Add New option and start creating your blog posts because it is the main fuel that will drive your website and help to gain organic traffic.
[affcoups id=”5384″]