Do you think that just writing a simple and good article will attract visitors to your website or blog? Yes, partially it can happen but gradually the number of visitors will be limited since most people feel bored to only read an article..
To make it engaging, you need to embed various Media files within your content. Media files not only make people engaged with your blog but also help the audience to digest the information much easier. WordPress Media files also play an important part to boost up the SEO. We will go through the importance in more detail shortly.
WordPress Media Library mainly comprises various images, videos, audio that can be added to your contents for attracting more audience. Not only it is a Library of files, but there are also various features that can enable you to show off your editing skills.
There are various things that you need to know regarding How to Manage Media Library in WordPress like- Add, Delete, Edit which we are going to cover in this WordPress Media Tutorial guide. So, let us start with the tutorial!
Key Content of How to Manage WordPress Media Library-
Overall Information about WordPress Media Library
After logging into the WordPress admin dashboard, you can select the Media option from the left division. It will open up two sub-options, namely Library and Add New.
Upon clicking the Library option, you will be taken to the page containing various images, videos, or other media files. You can also click on the Add New option if you want to add new items.
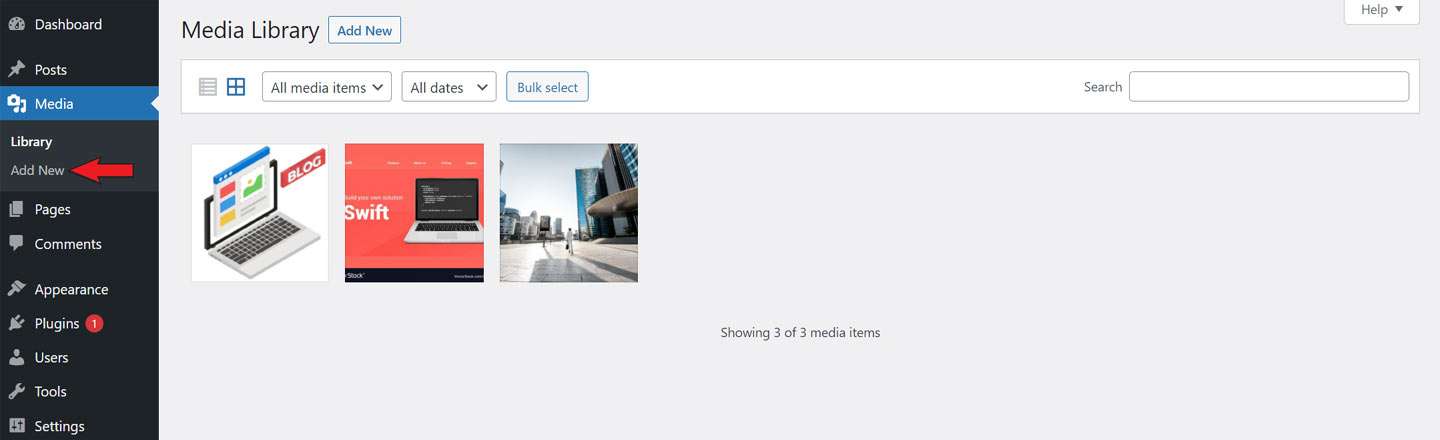
- List View/Grid View – It defines the format of showing the various media files that depend on your preference.
- Filter Tab – With the help of this tab, you can filter the various images or videos present in the library as per various filters.
- Search Box – This is simply the box where you can write some names to get your desired file easily.
Why are Media Files Important in WordPress Contents?
You may have got one reason for including media files in your content from the above discussion. It is because they enhance the engagement of your audience towards the content.
Yes, this is one of the major reasons because making attractive contents will help your website to gain more traffic and hence a greater conversion rate.
But, for gaining traffic, you need to make your website rank higher among the search results. That is possible by enhancing the SEO (search engine optimization) of your Posts and Pages. Images, audios, or any other media files play a great role in boosting the Search Engine ranking too.
Media-rich articles are given more preference by Google, Bing, or any other search engines. So it’s now clear that Media Files are important to include in your WordPress contents, but the process is not clear, right!
Hence, let’s move on to that now!
[affcoups id=”5377″]
How to Adding New WordPress Media Files–
Step 1: As mentioned earlier, besides the Library option under the WordPress Media tab, there is also another option Add New. Click on that to get the upload page.
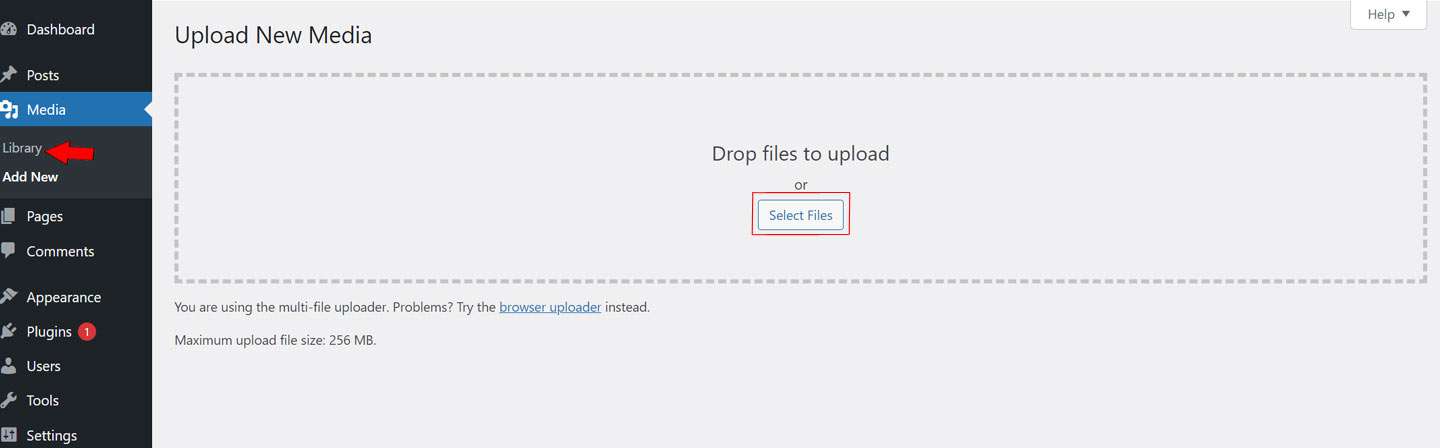
Step 2: In the center of the screen you will find a Select Files button which you can click to upload new files from your local machine.
Step 3: After adding the files, you can see the Media files in the Library tab.
How to Inserting the WordPress Media Files–
By now, you have already added the media files in the WordPress Media Library that you required. But, the doubt that arises now is How to Insert Media Files in the desired post/page! Let’s take a look at that now…
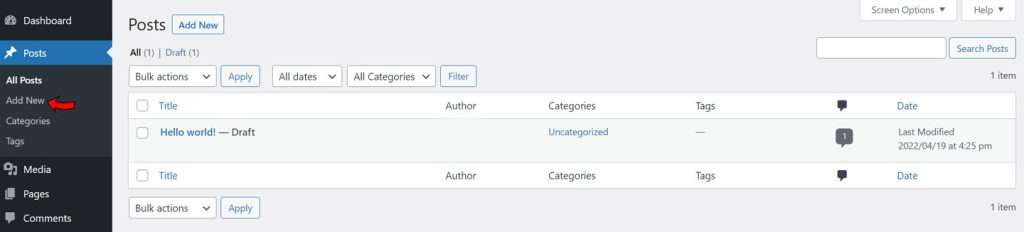
Step 1: You can create a New Post by simply going to the Posts tab in the dashboard and then clicking on Add New.
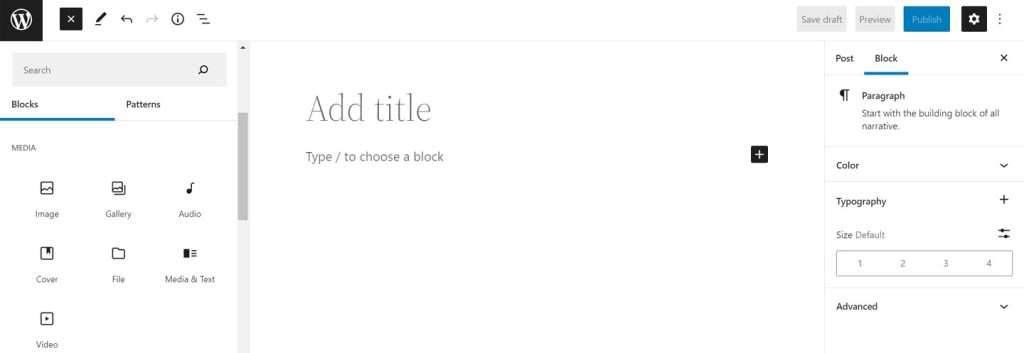
Step 2: Simply click on the ‘+’ symbol and drop the block that you want to include like an image, video, or gallery.
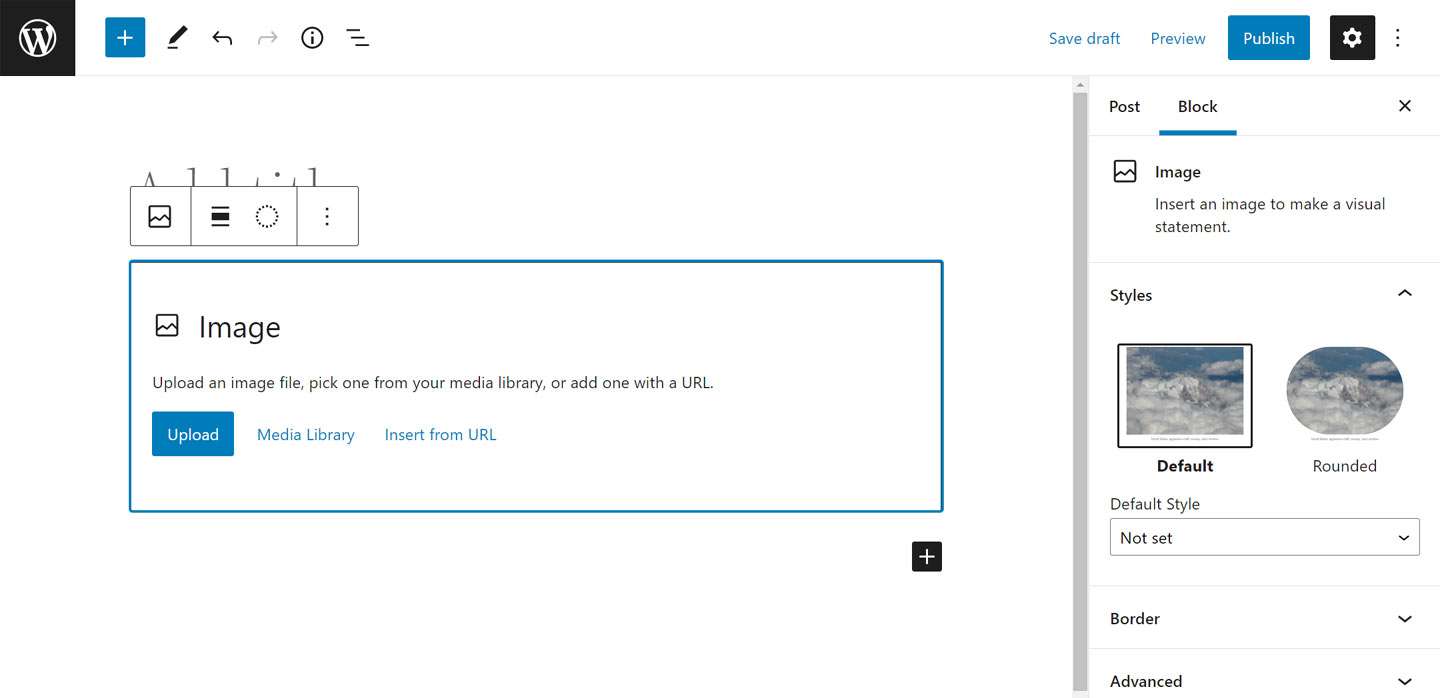
Step 3: The box that will appear will have an Upload button that you can use to upload the image from the Media Library.
In this way, you can embed media files into your post or page.
[affcoups id=”5001″]
How to Editing the WordPress Media Files–
Though the editing features provided in the WordPress Media Library include basic ones, still they are enough to make an appropriate Post or Page with images for catching more audience.
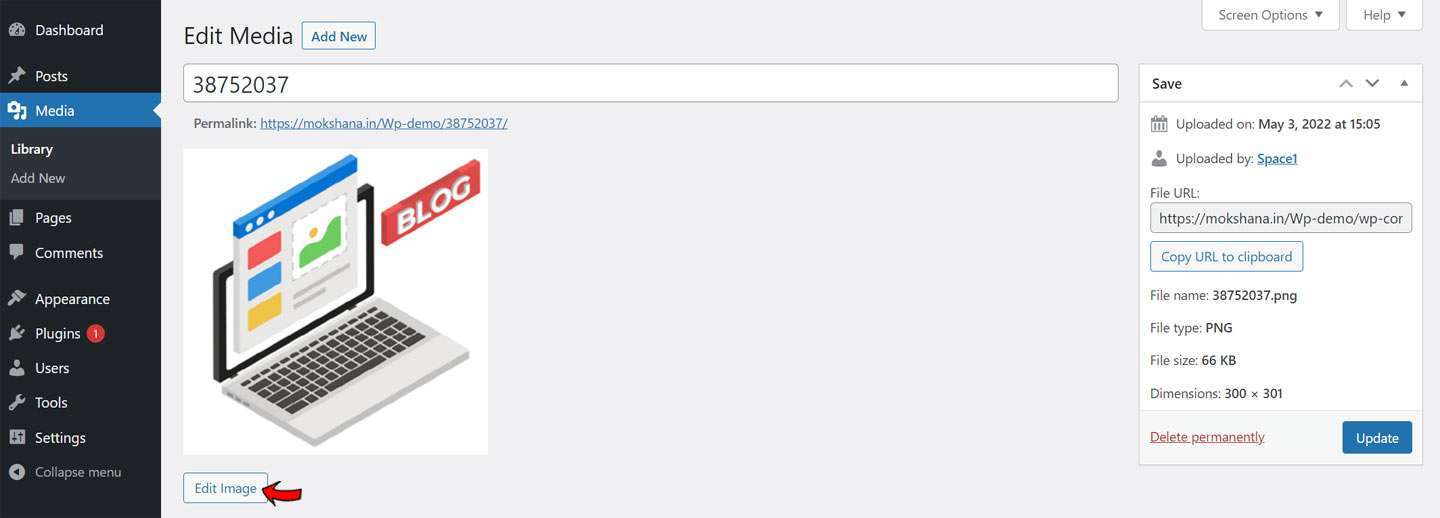
Step 1: You need to open the WordPress Media Library from the admin dashboard as discussed earlier.
Step 2: After that, just click on the Media File that you want to Edit and click on the Edit Image button.
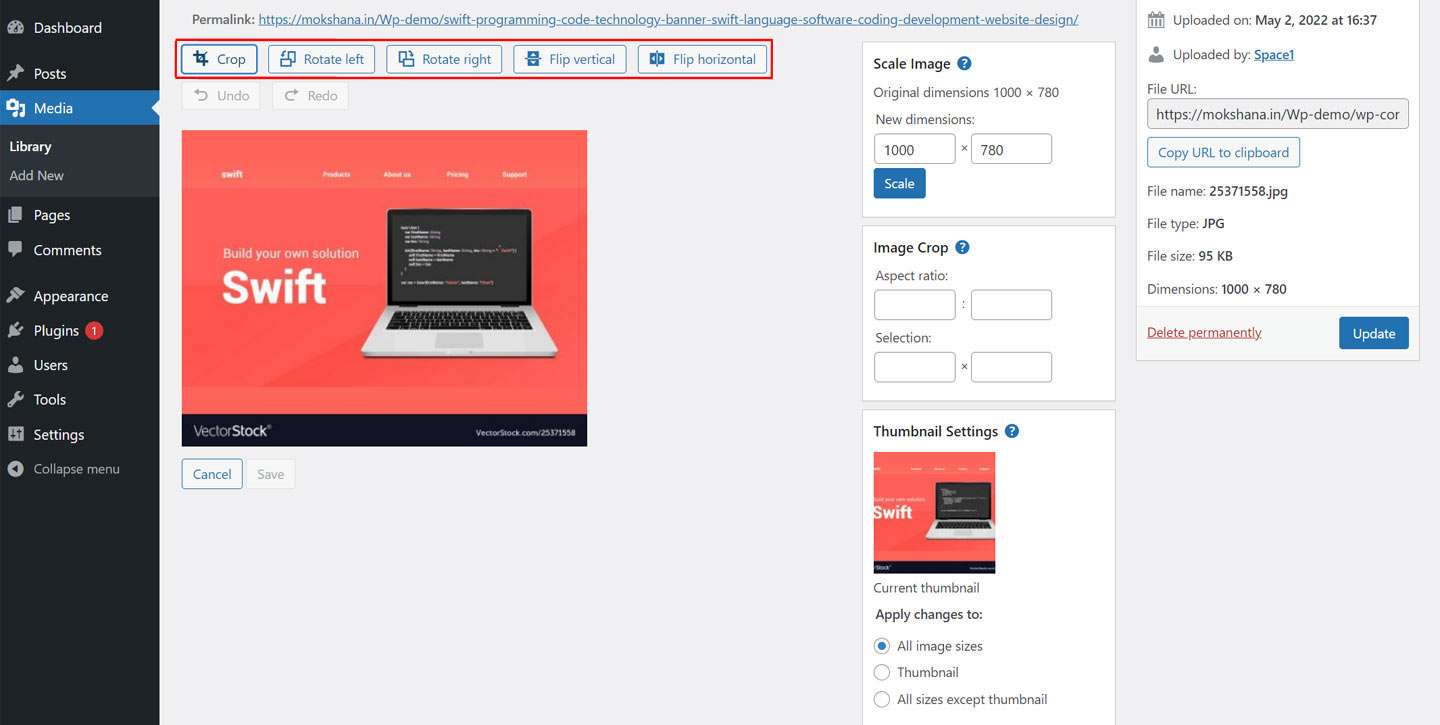
The options present in the toolbar are mainly for cropping, rotating, flipping the images. Besides, you will also have the option to undo or redo the changes.
On the right-hand column, you will get the flexibility to scale the image, changing the aspect ratio or perform certain thumbnail settings.
How to Deleting the WordPress Media Files –
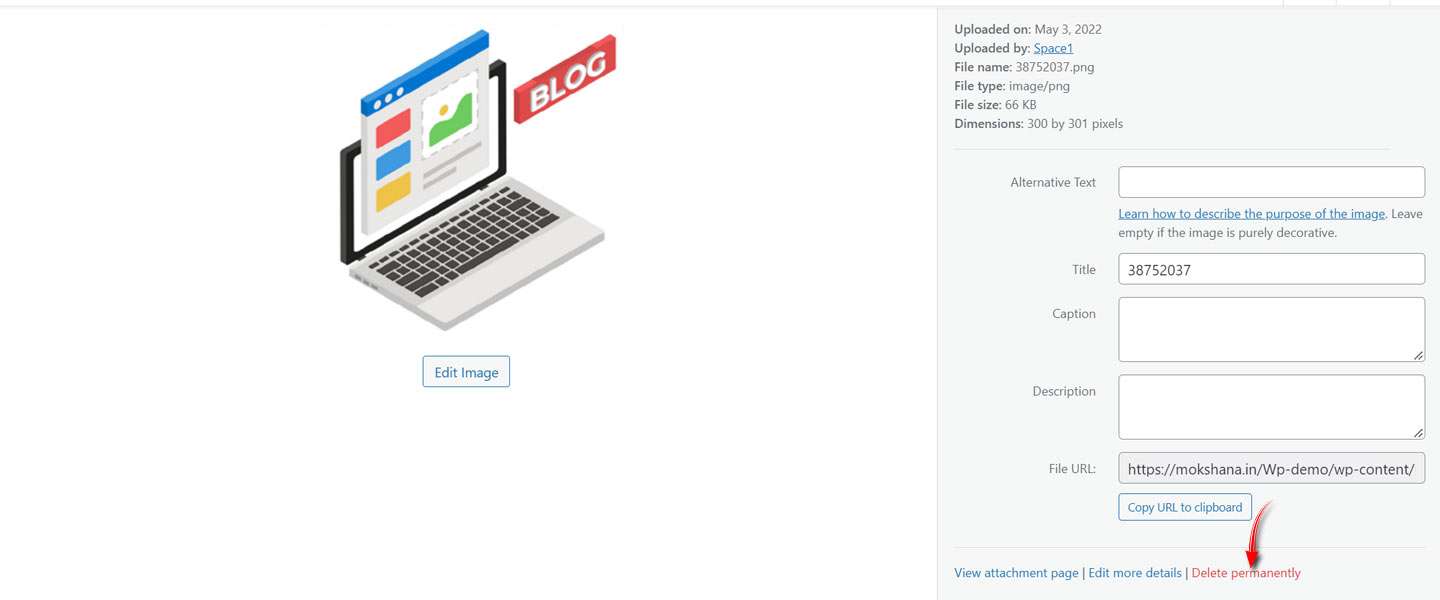
Deletion of the media files is a very simple process. For a single image file deletion, you can select the Delete Permanently button on the right side at the bottom.
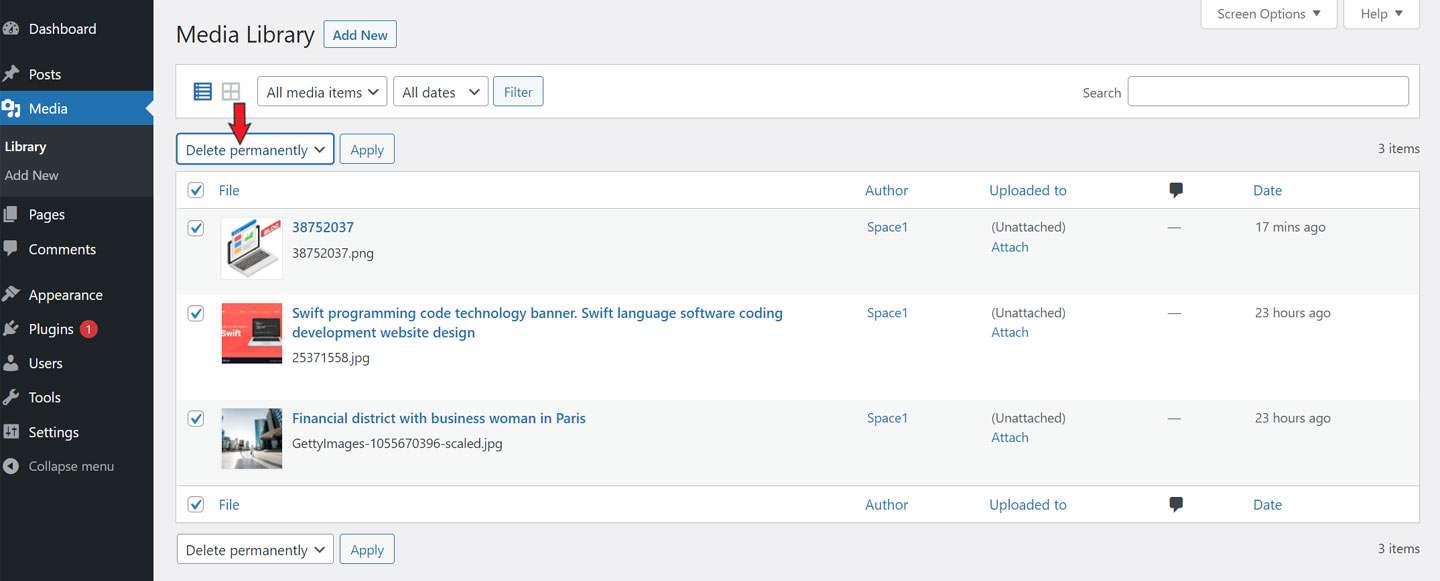
You can also delete multiple files by Bulk selection and then delete them permanently.
Conclusion
That’s all you need to know from this WordPress Media Library tutorial. We have explained almost everything that is important to know. Hope that you have found this guide quite interesting and helpful.
We can assure you that each section of this guide will surely help you in your blogging journey lifelong.
Effective usage of Media Files is mandatory for gaining the popularity of your website. So, now you have acquired all the theoretical knowledge that you need. Hence, proceed and start practicing them practically.