If you are creating a website for your business or just a personal blog, you must have come through the term WordPress. It is one of the largest and popular Content Management Systems (CMSs) across the globe and it makes your website creation a lot simpler. Most of the popular Hosting Companies or Providers offer you access to the cPanel interface through which you can conveniently manage your hosting accounts. Starting from WordPress installation, it also allows you to manage the domain names, database connections, email accounts, various important files, etc. that are required to create a fully functional website.
So, cPanel is an all-in-one solution that can make your online journey smoother and let you enjoy it without worrying about complex management. That’s why this interface has gained so much popularity although there are some providers that create their custom interface. But, web designers always love to perform their tasks through the cPanel.
cPanel makes it easier for you to install WordPress through the File Manager icon present in the interface. Do you know How to Install WordPress on cPanel? If you are not sure about that, then this guide can take you through the right way.
Here, we will provide you a step-by-step guide on how to install WordPress on cPanel manually.
Keep reading to clear your doubts in this aspect!
Key Contents of How to Install WordPress on cPanel-
What is Meant by cPanel?
cPanel stands for the Control Panel and you may have seen this on your computer if you are a Windows user. What is the task of that Control Panel? Simply speaking, it allows you to manage the various settings of your computer like the display, sounds, etc. Similarly, cPanel of the hosting providers in an online Linux GUI makes it easier for you to manage the various settings for the creation of your online foundation through a website.
Without cPanel, managing the various important files, databases, email configuration would have been a lot difficult. Thus, this interface makes all these tasks easier just by clicking the different icons. Different hosting providers offer cPanel that is based on the same technology and helps you to perform all the tasks mentioned above and more. Hence, it has emerged as one of the most popular Control Panels in the United States.
There are 2 interfaces of cPanel which is the cPanel and the Web Host Manager (WHM) that are together combined making the server management a lot convenient.
How to Install WordPress on cPanel Manually?
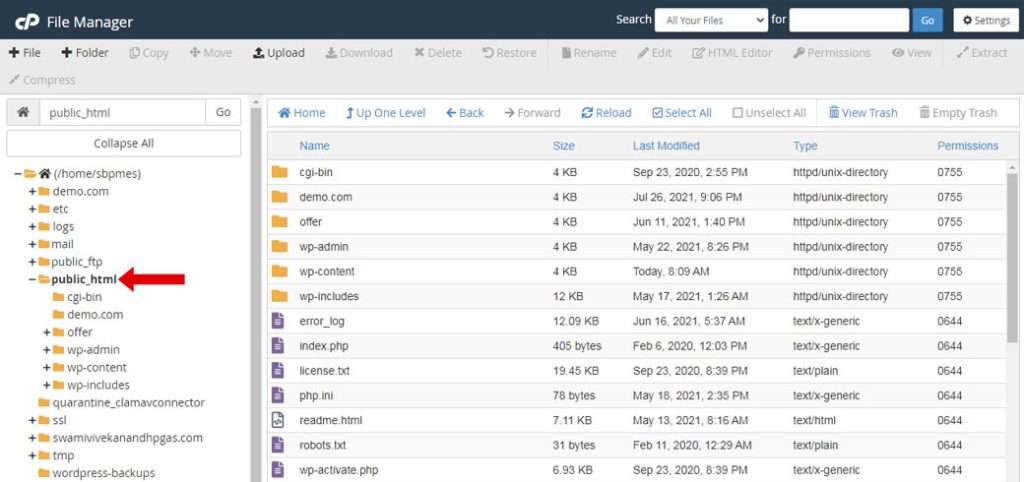
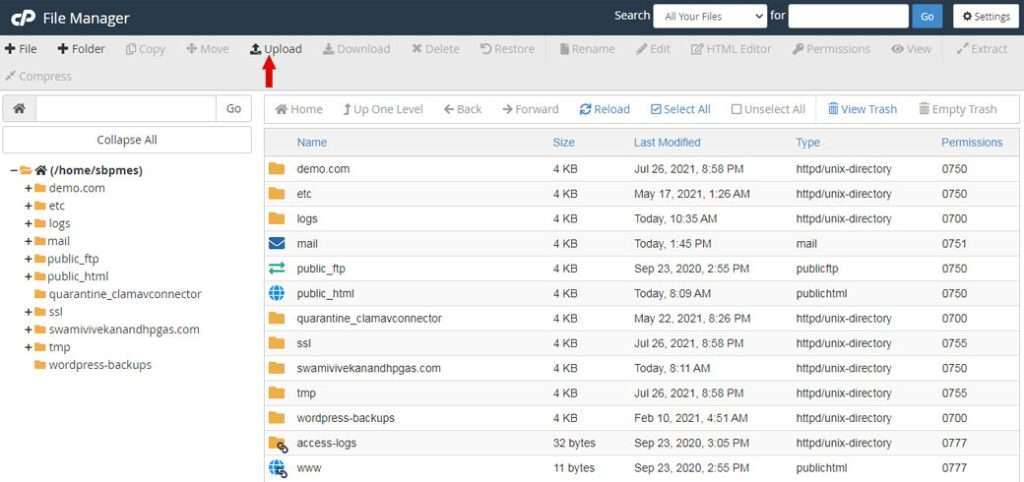
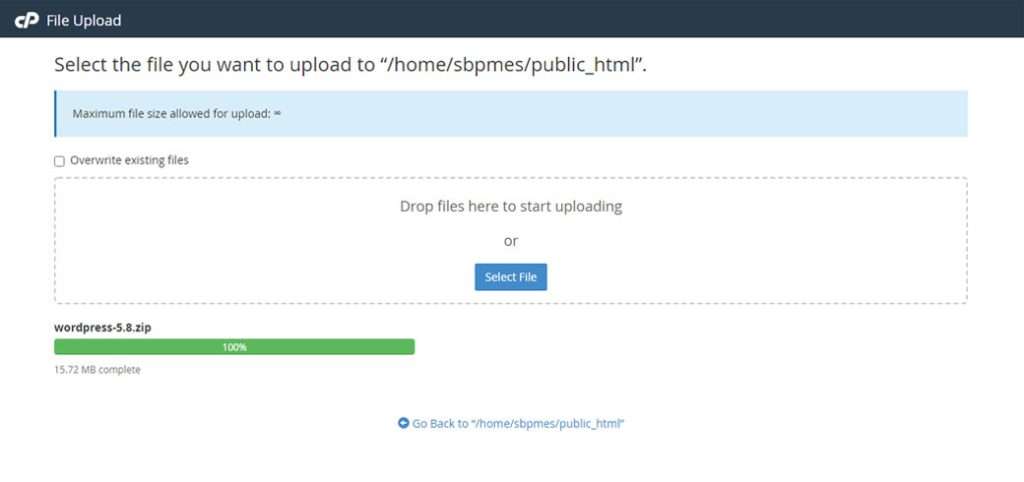
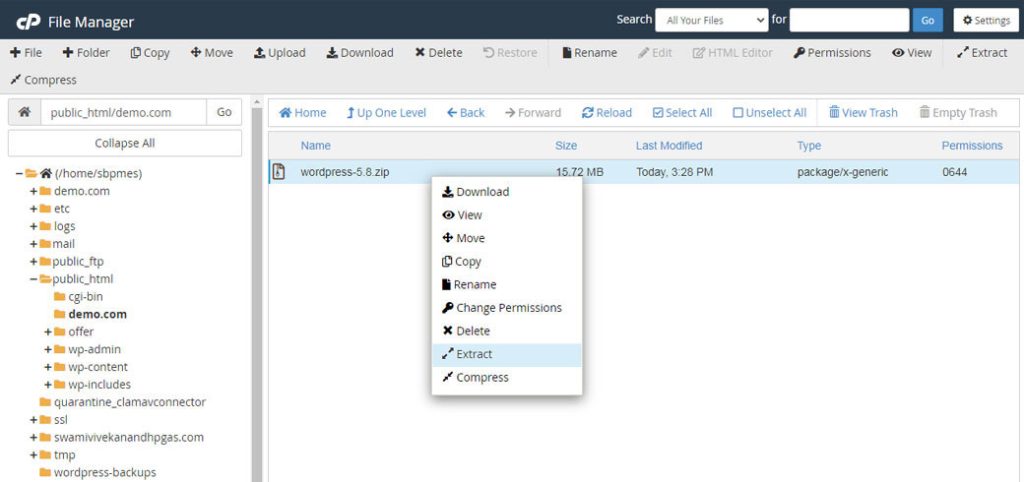
Step2: Log in to your cPanel dashboard. You can check the welcome email from your hosting provider for getting the direct link for login. Or, you can also append’:2082’ or ‘:2083’ depending on whether you are using HTTP or HTTPS version for your website. Then click on the File Manager icon.


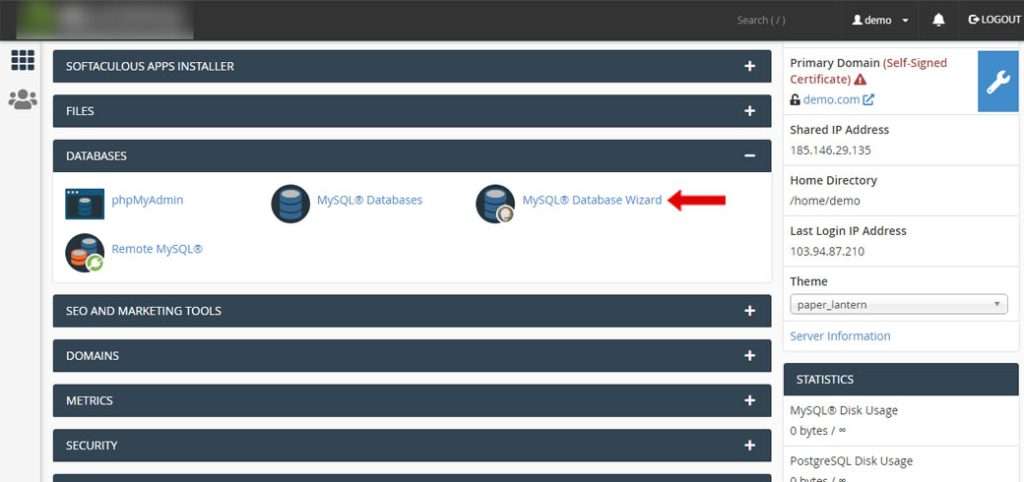
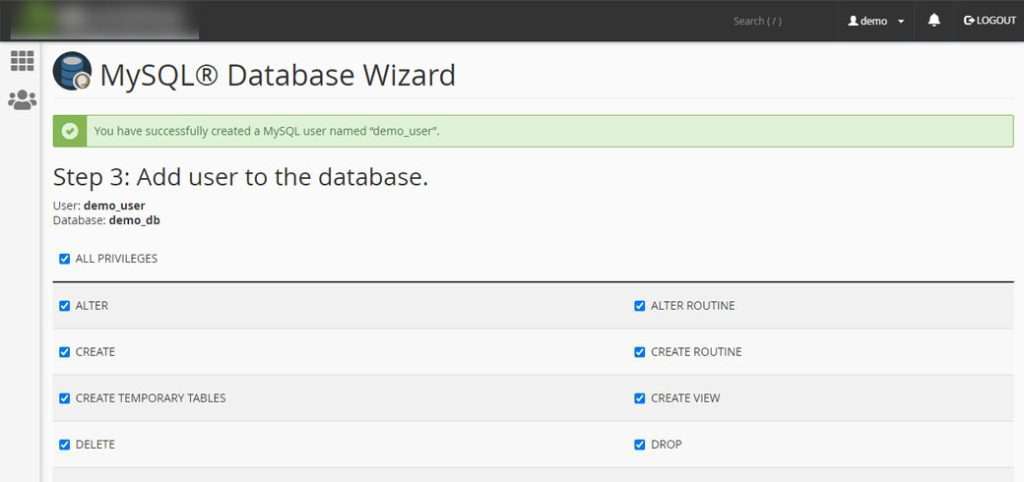
Following this, you need to click on the Create User button. Here, you will need to assign user to the database and assign permission for completing the database setup.
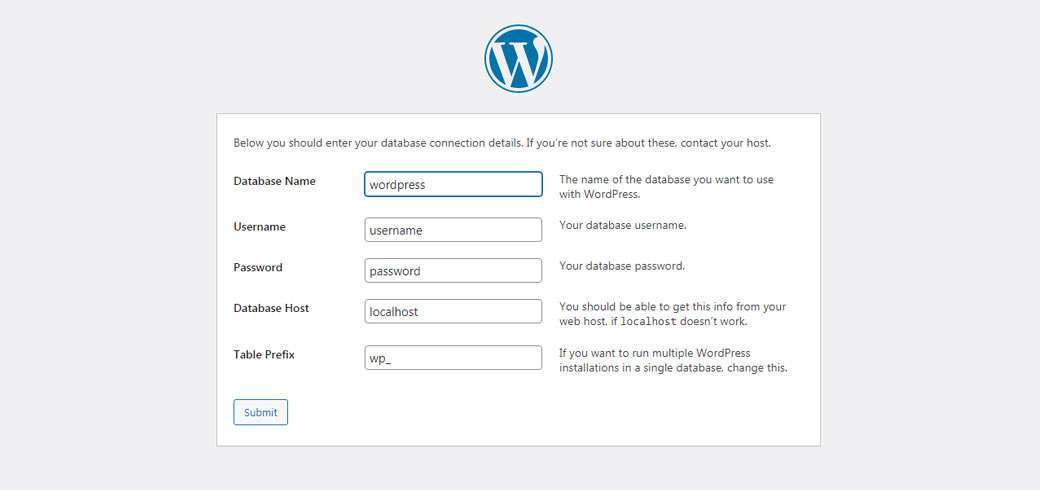
Next, WordPress will show you the various details you need to provide like the database name, username, password, host, and table prefix.
After filling in all these details, click the Submit button.
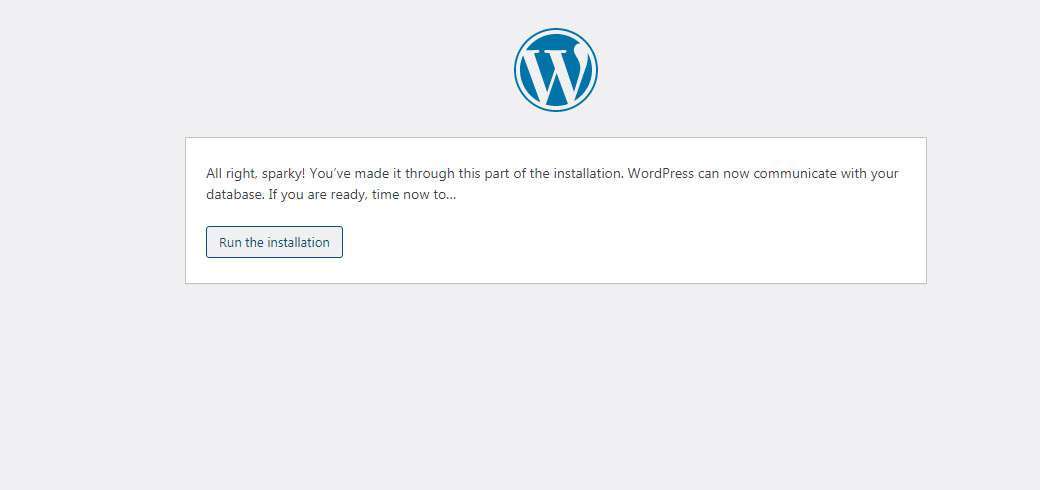
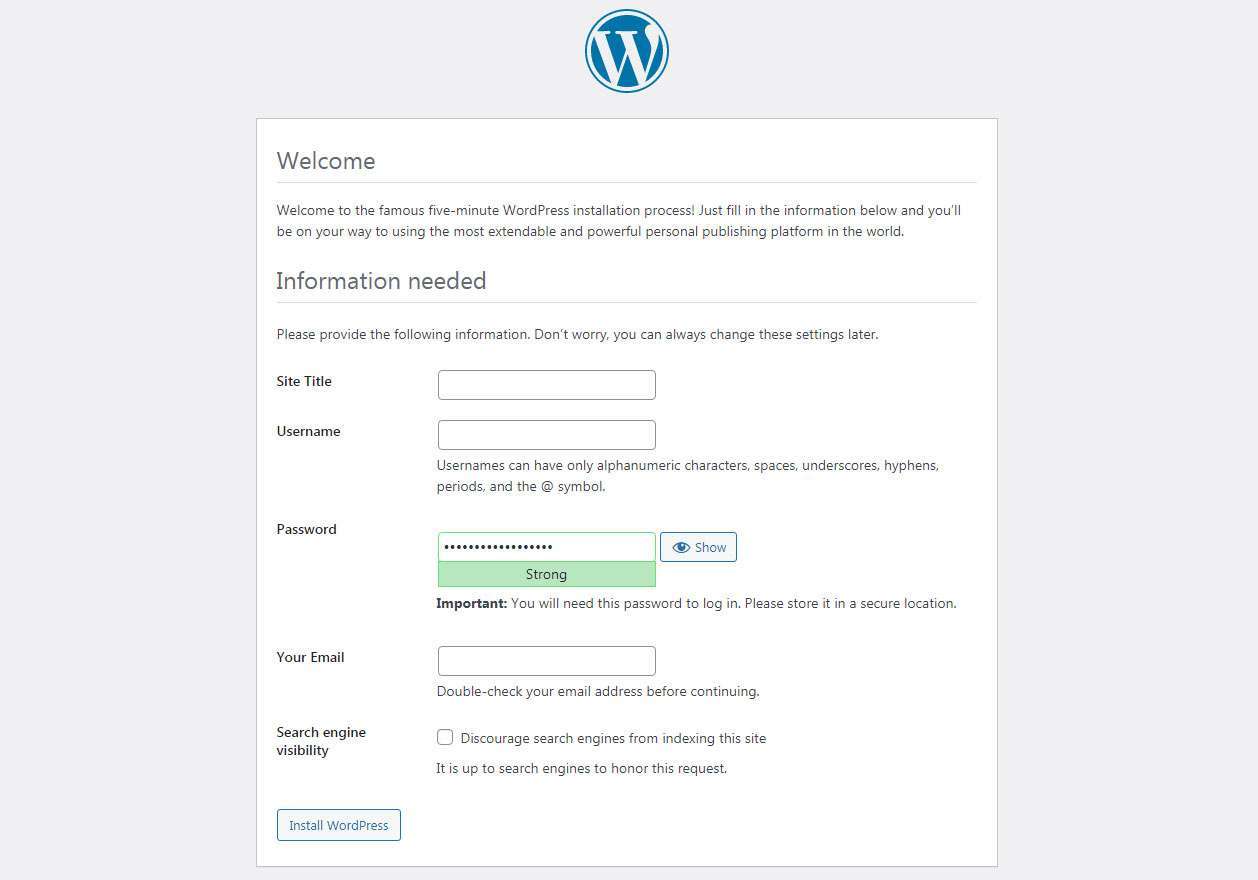
That’s it; your WordPress installation is done!
Conclusion
Hope you have found this guide on How to Install WordPress on cPanel interesting and helpful. We have kept it simple so that you do not face any sort of difficulties while installing WordPress. Just follow the steps and it will hardly take around 20 minutes to do the installation and thus enjoy starting with the WordPress to build your dream website.